Saturday, June 6, 2015

Swedish Zeltbahn Tent Set-Up

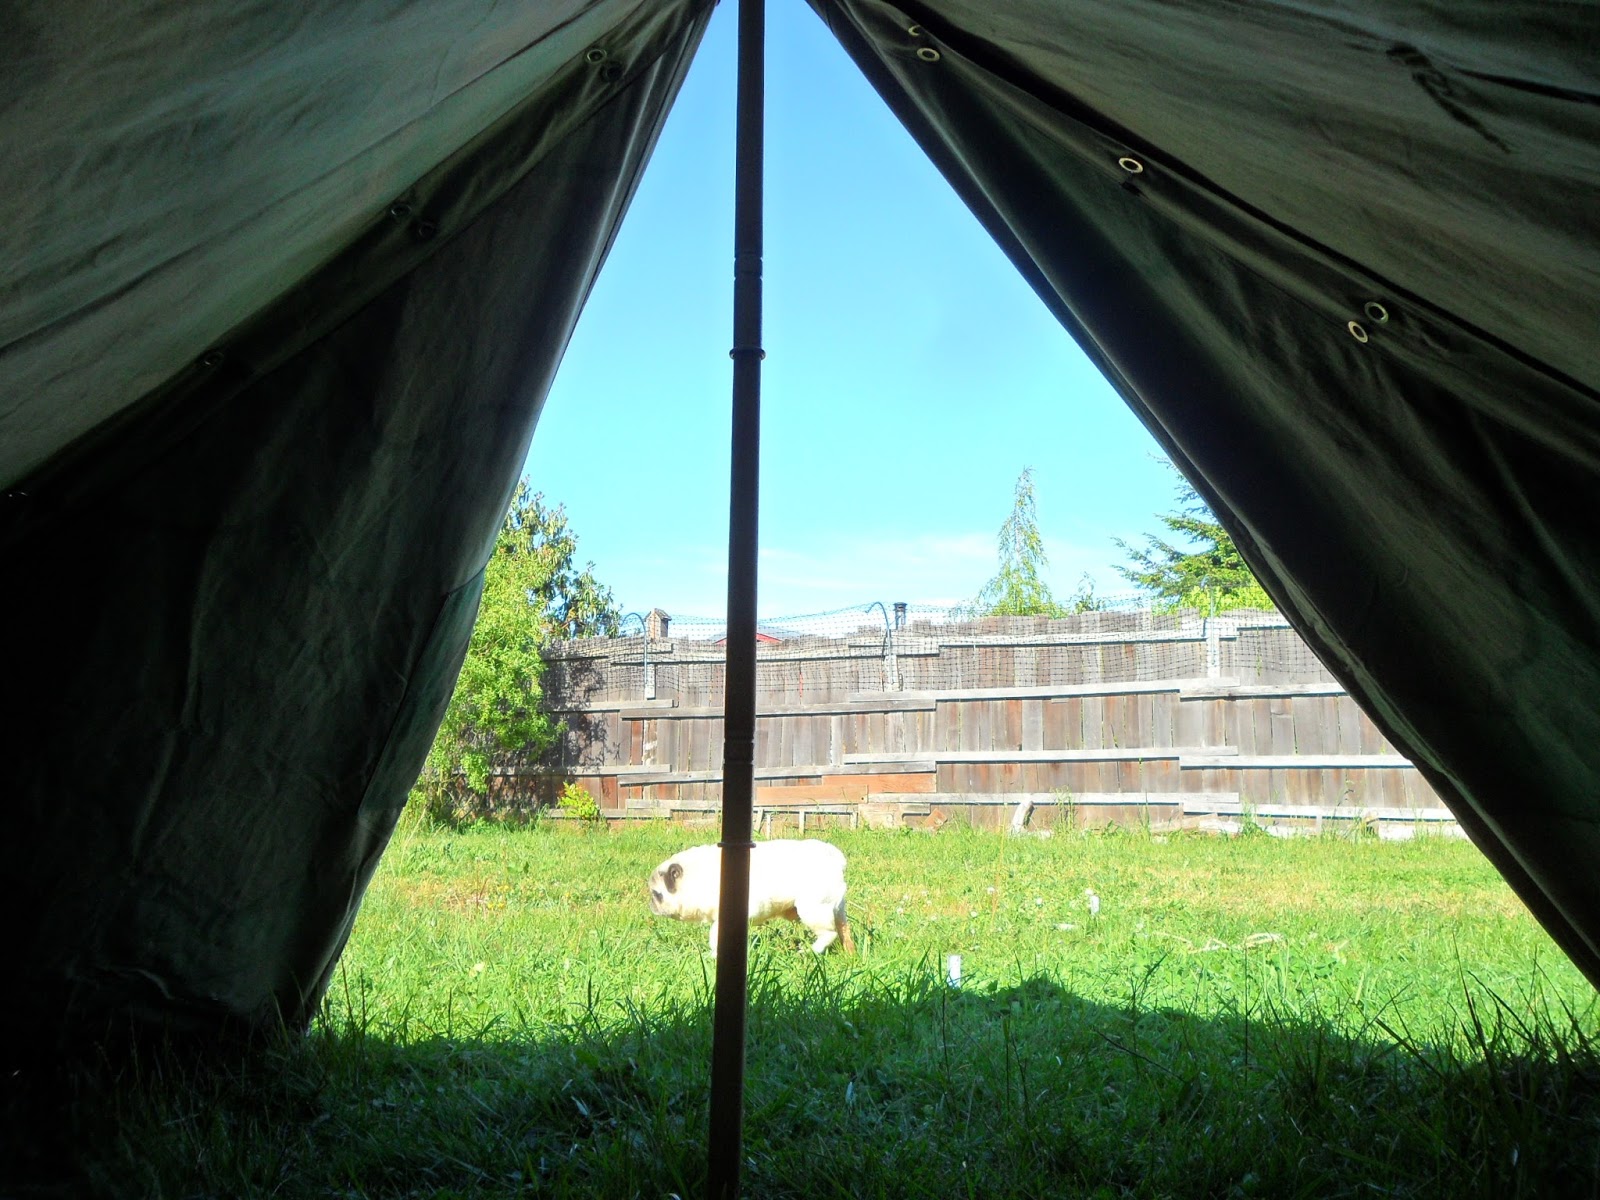
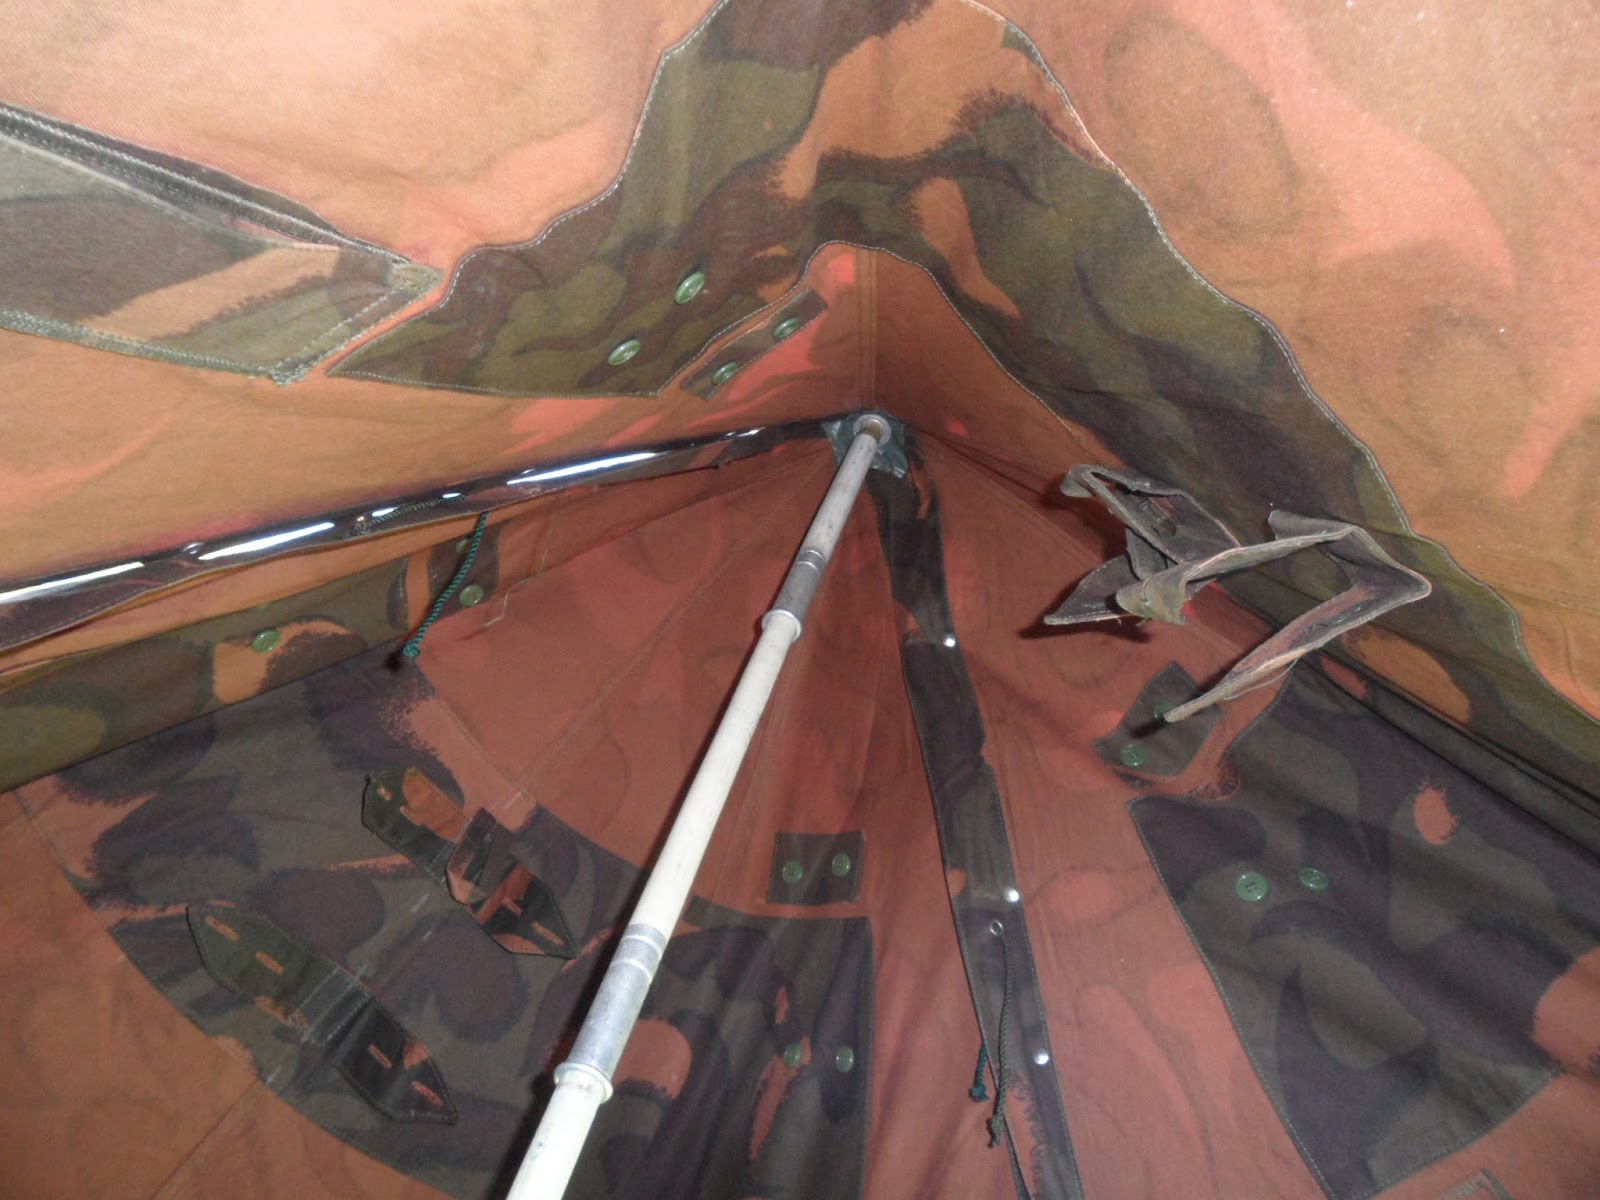
Since I've been going through my zeltbahn collection to find just the right set to use for my bushcraft adventures, I figured I might as well start setting up the various styles.  One of my favorites to use as a tent, is the Swedish zeltbahns.  


Zeltbahns in use by the Swedish Army, 1970's

Here's a link to a couple of my previous blog write-ups on these zelts:

swedish-m39-zeltbahns 

knappetalt-swedish-zeltbahn-update 

These zeltbahns make one of the nicest tent set ups, but they are HEAVY!  
It takes four of them to make a decent, useable tent.  The bulk and weight of four Swedish zeltbahns, with the associated poles and stakes, is just too much weight and bulk for one person to pack, so, I will use these as a "base camp" set up.  If you had four people, each packing one zelt, it would be a great set up.  It's just me and my one pack, so unfortunately, the Swedish zelts are off the "packable list".

As a comfortable and very cool, very functional, base camp tent, this zelt-tent set up is outstanding!  I used two sets of vintage WW2 Swiss tent poles and stake sets.  I used one set for the center pole and one set for the "tent flap pole".  I also used one of my custom guy lines with the spliced-in end loops.


Here's how it looks all set up, with views of a couple of different tent flap configurations.  By far my favorite configuration is to lift one flap as an awning, held up by the second pole and guy line...........  very roomy and spacious inside!


Friday, June 5, 2015

Hungarian Zeltbahn M49/82 Set Up as Tent , With Mosin Nagant 91/30 Option

A couple of years ago I picked up a single Hungarian Zeltbahn Rain-Cape. It has been gathering dust in my shop waiting to find its way into the field for use.  Well now is that time!

I have added a second rain-cape zeltbahn and now I have a matched set for field use.  This double set-up is going to be my regular "bushcraft tent" for my back country adventuring.


Before I get into the meat of this posting, here are a couple of links to my original postings that covers some of the details and history of these amazing zeltbahn rain-capes:

hungarian-m49/82 zeltbahn rain-cape

hungarian M49/82 History

First off, I would like to highly recommend these Hungarian zelts to anyone who would like to add a very traditional piece of survival - camping gear to their field gear.  These zelts are cut to the same pattern as the original WW2 versions, but are made with a much lighter and stronger fabric.  The fabric itself must be a poly-cotton mix of some sort that has a very high thread count weave.  They are treated with a traditional "oilskin" treatment, but lack the nasty "surplus" smell!

I had an afternoon of "field maneuvers" in the backyard so I could field test and fine-tune the two zelt set-up.  I worked out the bugs, made a few adjustments, and figured out how I plan to roll and carry the tent on my pack...... it was a very successful day!

My double-zelt tent with poles, strapped to the bottom of my Frost Ilse Royal Jr. Pack

Both of my Hungarian zeltbahn rain-capes are in virtually unissued condition.  One is from 1989 and the other is dated 1992.  


Originally these late model zelts were issued with an expandable aluminum center pole to the Hungarian troops.  In the years prior to that, WW2 through the early post-war years, the standard issue Mosin Nagant 91/30 rifle with bayonet was used as the tent pole!  Since I was lacking the aluminum pole, but just happened to have an original Mosin Nagant in the shop, I decided to set up one of the zelts with the rifle-pole to determine the propper center pole length.


The Mosin Nagant rifle with the attached bayonet, is exactly the right length to use as the center pole!  This definitely confirms that these zelt rain-capes were deigned around the rifle as a center pole set-up.  I measured my center pole-rifle height, and then made up a"custom" pole set for my own field use.  


I used one standard WW2 issue, Swiss zeltbahn tent pole set, and added a short, fourth length, to bring the assembled pole to the correct length.  I also added some additional tent stakes from a couple of other spare Swiss pole sets.  The new pole set works perfectly and has that authentic "old-school" look. (fortunately I had one broken Swiss pole that I could use to trim down to the correct length for the 4th pole).


It is very important to have the correct center pole height when you assemble two of these zelts for use as a double tent.  If the pole is too short, the perimeter edges will lay flat on the ground.  If the pole is two long, you will not be able to insert the pole in it's vertical position with the perimeter corners staked in the correct position.  When the pole is the correct length, the tent sides are flat and the bottom edges touch the ground perfectly.

To start the assembly and set up of the double-zelt configuration for a tent, button both zelts together at both edges.  This will form the "pyramid" once the center pole is added.


Lay out the tent on the ground and spread it flat, leaving the extra fabric piled and bunched in the middle.


Stake out the corners, but leave the mid-stakes out.

Unbutton the middle portion of the "entrance seam" (leave the bottom buttoned to hold the perimeter shape) and insert the assembled tent pole inside.  Run the "point" of the pole into the top grommets and then lift the top up with the pole and then leave the center pole wedged vertically in place.


Now you can adjust the corner stakes and then add the mid-edge stakes.


No guy lines or ropes are required to keep the tent erect in this configuration, the stakes do all the work.  
If you want to open one edge and fold back the sides to make a lean-to type set up, then you will need to add a single pole line.  I have made up one that is the correct length that will span from the top of the pole to the existing corner stake, with the front edges folded back.  I spliced an eye in both ends of  the custom line to make installation quick and easy.


There are a number of ways you can "open up" the zelt tent after it is set up.........You can lift just one side of the entrance:


You can fold both sides of the entrance back to form a half shelter, or you can just leave the zelt in its pyramid form and use the edge slit as the "door.  
With a little bit of experimenting you will see that there are quite a few other options as well.  Just be sure to place your helmet or a "pot" over the top of the tent where the tent pole comes through the zelt grommets or you will have a leak in the rain!  (That's why you see the soldier's helmets on the top of all the old zelts in the vintage photos!).

To finish things up, here is a photo album of the new Double-Zelt set up.............


I hope this "tutorial" and field exercise helps get a few more of these wonderful Hungarian zelts back in use.  If you have the chance to get a couple of them, grab them!  You won't be disappointed!

Thursday, June 4, 2015

Swedish Mess Kit and Stove Snuffer Modification


I have recently rediscovered my old Swedish Mess Kit and Stove.  I have been setting up a new bushcraft pack with old military "camping gear", and the mess kit has found its place as a permanent addition.

I have been test firing the little Svea stove that is included in the in the kit, and I quickly discovered that for extended cooking missions, I needed some way to easily and efficiently snuff out the flame.... without burning my fingers or melting the O-ring in the screw-on cap.  I needed some sort of snuffer.


My solution to the problem was to make a modified metal cup that would serve as a portable flame snuffer.


Here's how I put it together:  I swung by our local Goodwill Store and picked up a stainless steel kitchen prep-cup that fit easily over the burner top.  I drilled a small hole in the bottom and then inverted the cup.  


I added an eyelet made of stainless steel wire, inserted it in the hole and bent over the "legs".  I added a short piece of chain and then made a hook out of some more stainless steel wire.


The new snuffer works perfectly!  The chain is just long enough to keep your fingers and hand clear of the flame and the hook lets you find the end of the chain easily.  


When the burner is cool, you can remove the snuffer and relight the stove for the next cooking mission, or screw on the burner cap without the danger of melting the O-ring in the cap!

As a nice side-note......... the snuffer is extremely lightweight and fits easily inside the messkit when everything is packed.  My little simmer ring nests inside the cup as well.  Very compact, light and extremely efficient!

A perfect solution!


Be sure to check out my other blog write-ups on these amazing Swedish Mess Kits:

swedish-m40-mess-kit-svea-stove

swedish-m40-mess-kit-simmer-ring

swedish-m40-mess-kit-stove-modification

swedish-m40-mess-kit-svea-alcohol-stove Tips


Wednesday, January 28, 2015

The Blog Is Back!

After an EXTENDED departure from the Blogger Scene, I'm back!

I took a break from my blog postings after Google limited my photo storage levels.  Since then the problem has apparently been corrected!

Stay tuned for a backlog of postings!

Thanks for visiting,

Sharky


Sunday, September 16, 2012

Austrian Mess Kit / Tin, circa 1980

This last Friday, Sweet Pea and I were over in the "Big City"......... Seattle, and stopped by the local surplus store.  I found a small bin of old Austrian mess kits and just had to pick one up to fill in an empty spot in the collection.


This model of Austrian mess kit is identical to the old German mess kits, with the exception of the code stampings. This kit is stamped with the the code "HV 80", which stands for Heeresverwaltung 1980.  Heeresverwaltung is the tittle of the Austrian Federal Army and 1980 is the date of manufacture.  The other code is U.SCH.  This stands for "Heinrich Ulbricht's Witwe, Schwanenstadt", the manufacturer of the mess kit.  This company was also the manufacturer of many of the Austrian helmets as well.

These are great old mess kits and make excellent replica German kits for field reenacting, in the absence of an original WW2 model. 

If you want to find more info about the Austrian Army, you can jump over to this site here:  http://www.doppeladler.com/da/

Here's the album of photos of this mess kit.